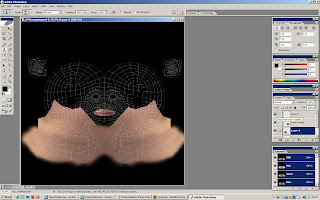
I then opened this in Photoshop, so that I could start piecing together my face.
i applied a dark background layer so that i could see the mesh, and put the mesh as the top layer, so that I could work in between these 2 layers with all my different face parts.
Here is a screenshot of the first few steps.
As you can see, I have taken my neck texture from my original photos of my head, and started making the mouth.
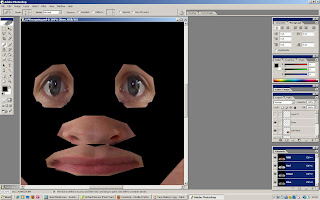
Here, I have added in the eyes and the base of my nose.
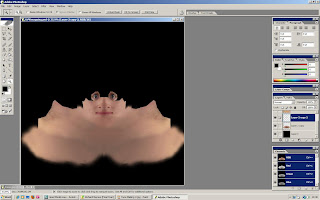
Now I have filled in the gaps between my mouth nose and eyes. I used the texture from the cheeks to fill in these parts, along with my upper lip under the nose.
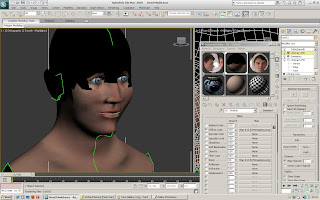
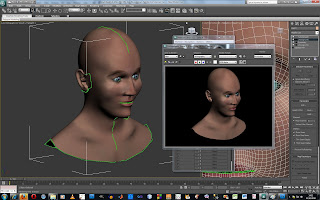
At this stage, I though it would be a good idea to add the material to my model, so that i could see if i was on the right track.
As you can see, so far so good!
For the ears, I didnt apply my ear texture, as I though it would be too hard to match up the highs and lows with the mesh. Instead, I used a part of the neck for the ears.
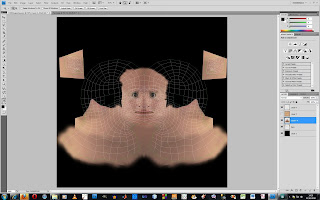
Here is an update on the model.
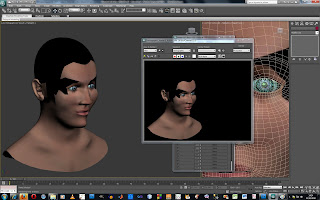
Here you can see I have started to fill in the rest of the head. Instead of adding my hair to the map, I instead just used skin, and carried the skin over where my hair should be. This would give me a better base for which to apply a Hair modifier later on.
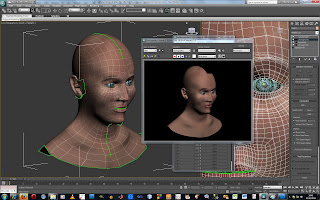
Here is my material face complete.
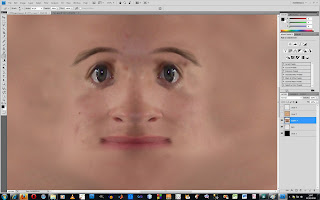
And here it is on the model.
No comments:
Post a Comment