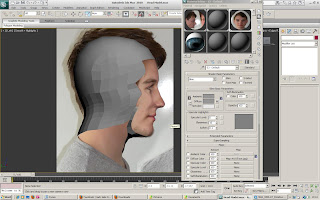
Ensuring that the polygons matched to the face was definately the tricky bit. I had to ensure that every polygon i created along the face touching side would tie in correctly with the back of the head. It was difficult, but eventually paid off. As my face contained quite a high number of polygons, i could use alot more creating the back of the head, which hopefully would help me later when it came to refining it.
Once the head shape was virtually there, I worked my way down onto the neck area, staring with the front chin area.
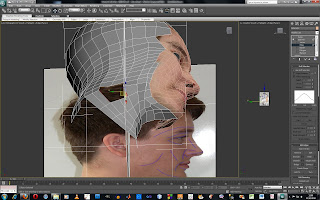
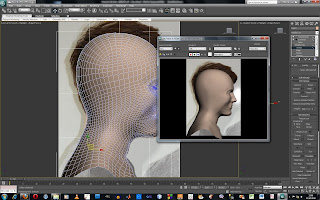
You can see from this image that creating the chin area was quite difficult, as I had to stretch a number of polygons. However, when I refined this later on, the stretching became less apparent.
I worked my way from the front to the back of the head during this stage.
With the neck essentially in place, I started work on the shoulders. For this I contiuned working my way down in the side view, creating the very top of the shoulders first, which I would then expand on front and back.
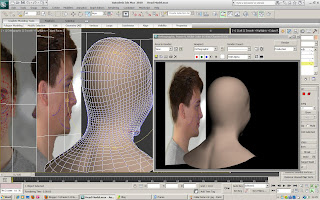
The following image shows part of the shoulder in place, along with the start of the chest area.
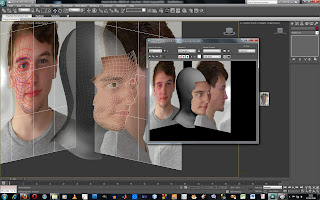
Once this stage was complete, I found it easier to weld the two parts to each other. I hated working with 2 seperate models as I couldn't see clearly through the objects when I made them semi transparent.
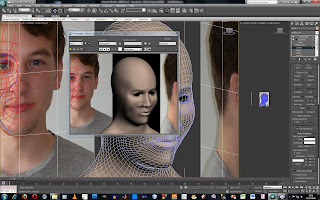
I could also now apply a skin tone colour to the model, which made the whole model look more uniform, and I could now see any imperfections from face to neck.
As you can see from the image image, there were some little ridges and blotches on the face, which I was not happy about. These would later be corrected.
I further extended the shoulders, back and chest until I had enough to my liking. I tried to follow my referance planes as good as possible to ensure that these areas came out looking realistic.
There were a couple of small touches I could put into the model to make it look alot more realistic. These were the collar bone area, the adams apple, and the ridge in the back where the spine sits.

To make these little effects, I simply raised some vertexs, and indented some others. Once turbosmoothed however, the effects became less apparent, so I had to go back and over exagerate the features on the model, so that they would show correctly on the model once turbosmoothed.
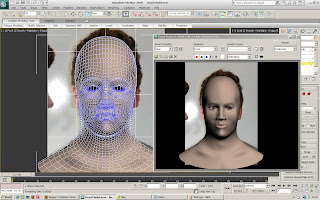
With these features finished, the face, head, neck and shoulders were complete. All that was left was some little refining here and these. Here is my model now that I have refined the ridges and bumps.
Here is the front view.
And here is a view from the side.
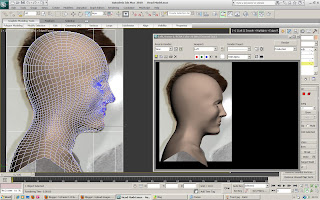
As you can see, the model flows really well and matches my referance planes almost perfectly. I am really happy with how the model is sitting now.
The marking schedule is on Jo Bowmans blog now... http://virtualenvironments.edublogs.org/
ReplyDelete