However, I followed the tuorial as closely as possible, and managed to come up with an ear that looks pretty similar to my own, and for that I'm happy.
I started with creating guidelines on my existing referance photos.
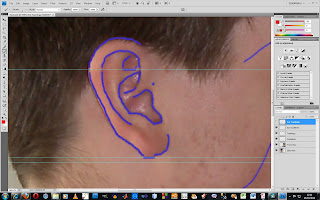
I then created Topology lines from my guidelines.
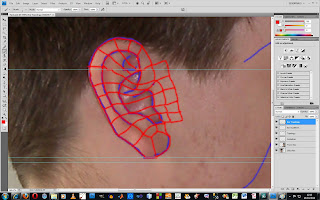
After this, I went back into 3DSMAX and started creating my ear, starting with drawing lines, and then moving onto creating polygons etc. I used the exact same method as I did for the face originally, so I already had some knowledge of what I was doing at this point. Also it would be pointless for me to explain how I did it, as I have already done that with the face.
Once i had pulled out all of the vertexs into place, I moved onto tweaking the ear into the right position, dipping parts in, to create the ridges in my ear.
After that, I created the black of the ear by extending the edges I already had.
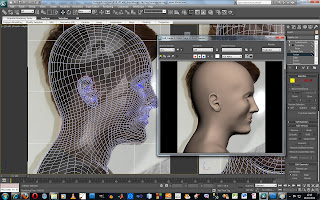
Here you can see my ear complete, and sticthed onto my head. I attached the ear to the head in the same way that I connected the back of the head to the face, using the weld and attach features.
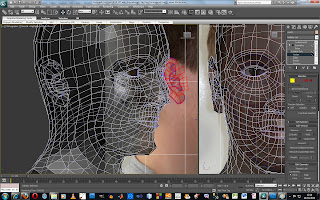
Here is a turbo smoothed version of my ear.
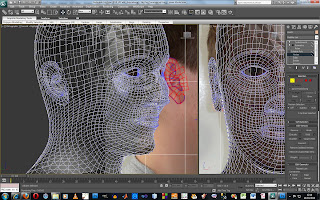
And here is a rendered side on view of my ear.
No comments:
Post a Comment